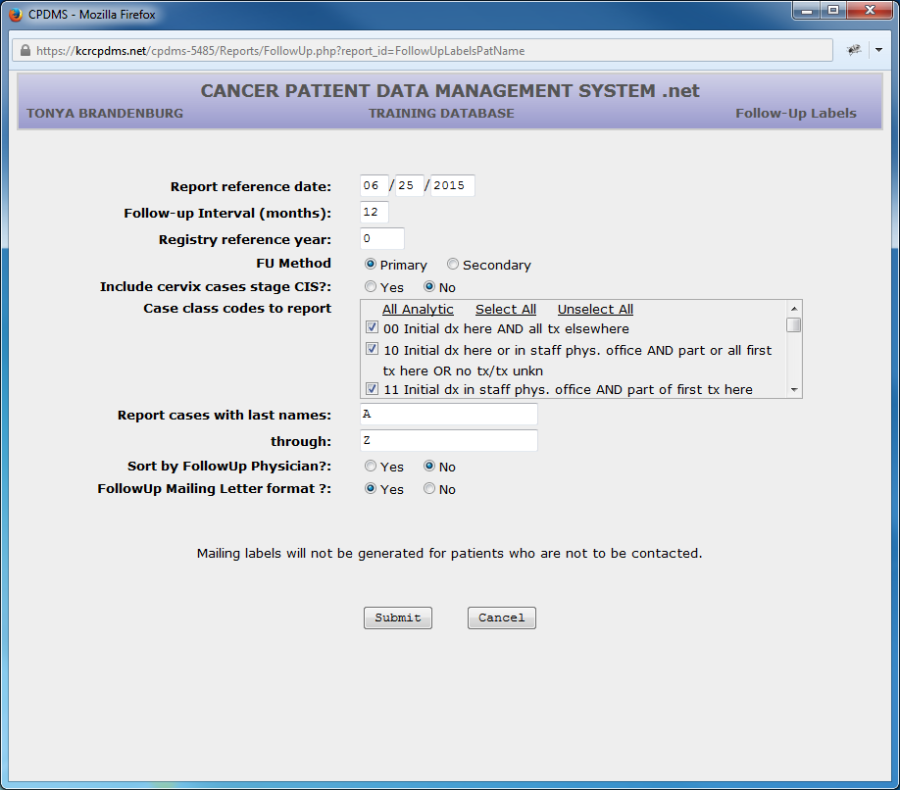
From the Reports submenu, create Follow-up Labels using whatever criteria you wish. At the bottom of the screen, change "FollowUp Mailing Letter format?" to "yes" in order to generate letters instead of labels.
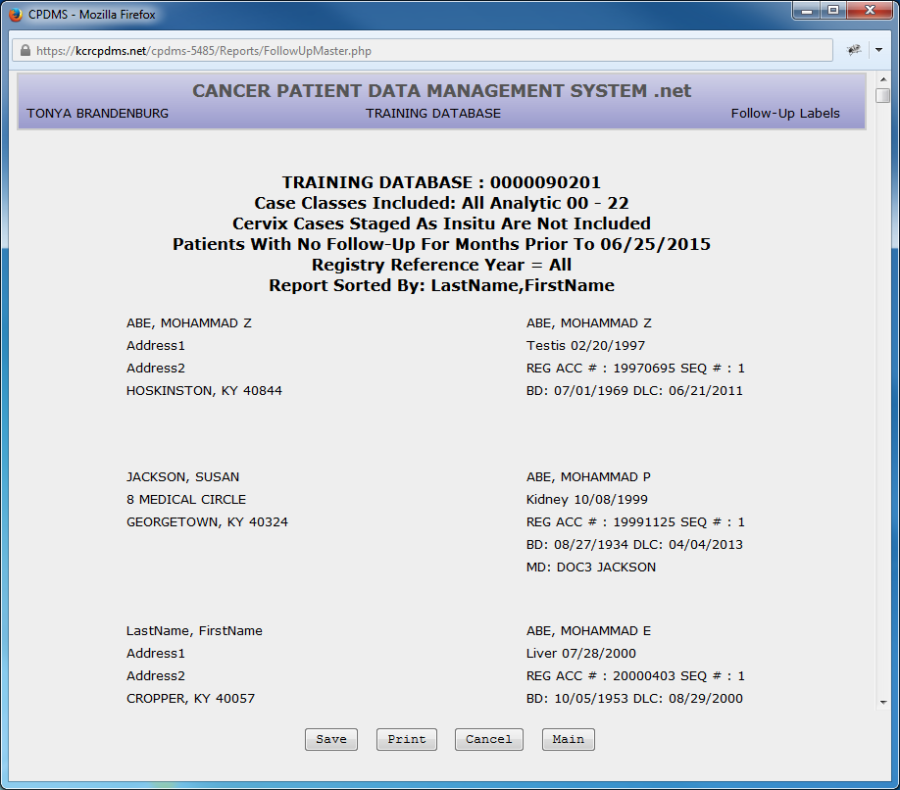
As seen below, the output for follow-up letters, as displayed in CPDMS.net, appears identical to the label output. However, when the report is saved as .csv file, the format will be optimized for letters rather than labels.
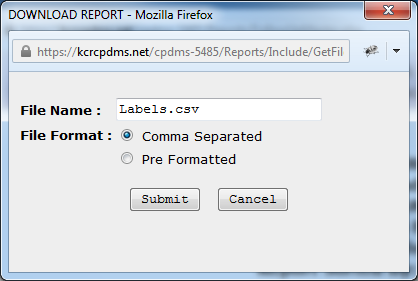
Choose the "Save" button and a dialog box will appear with the default filename "Labels.csv" and "comma separated" as the specified file format. The filename may be changed to whatever you wish, but be sure to preserve the .csv extension.
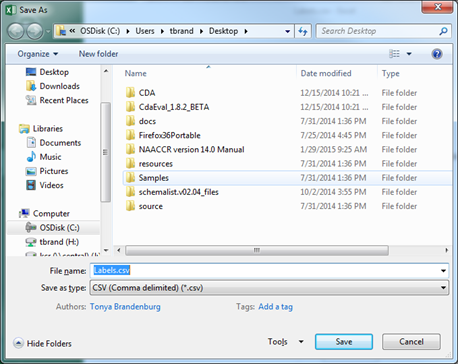
Select "Open with" and then "Save As" to save the file to the desired location on your own computer or network drive. In the screen below, for example, the file is saved to the user's computer desktop.
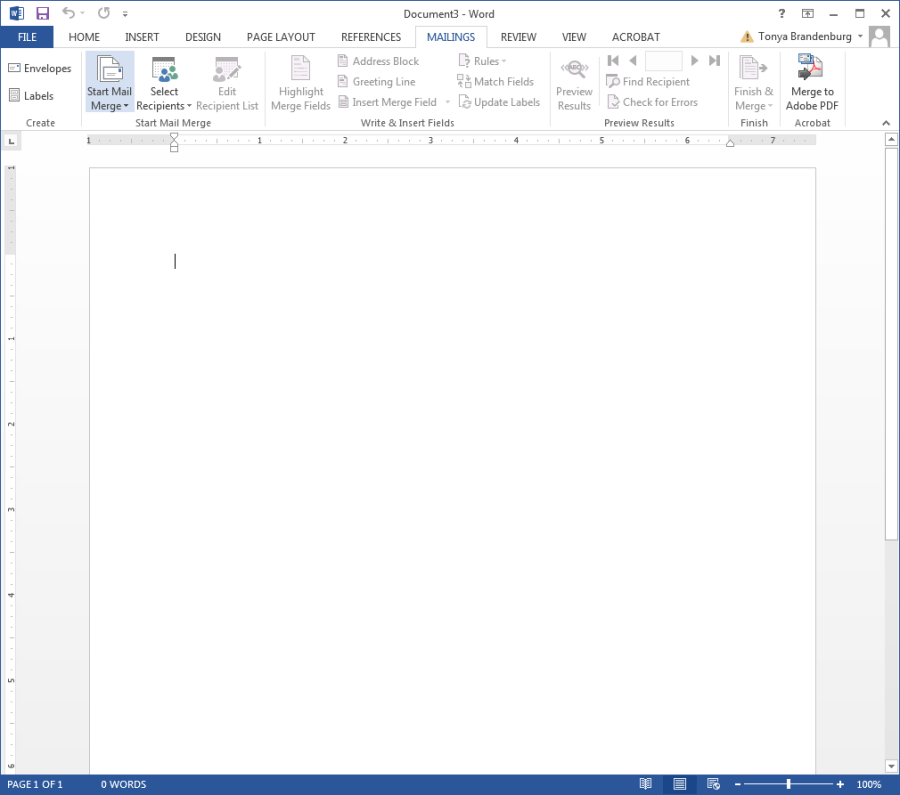
Now open Microsoft Word, click the "Mailings" tab, then the "Start Mail Merge" button and "Letters."
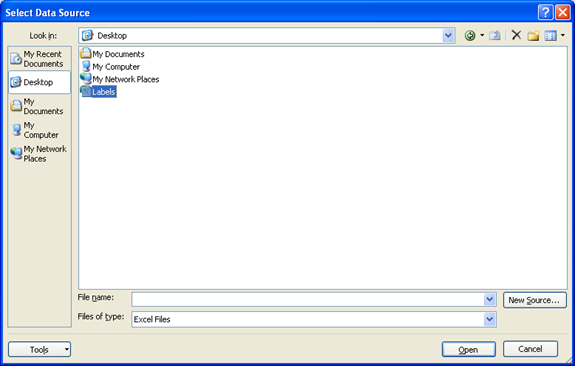
Next, from the "Mailings" menu, choose "Select Recipients" and "Use Existing List." The "Select Data Source" dialog box is now displayed. Highlight the file and click on "Open."
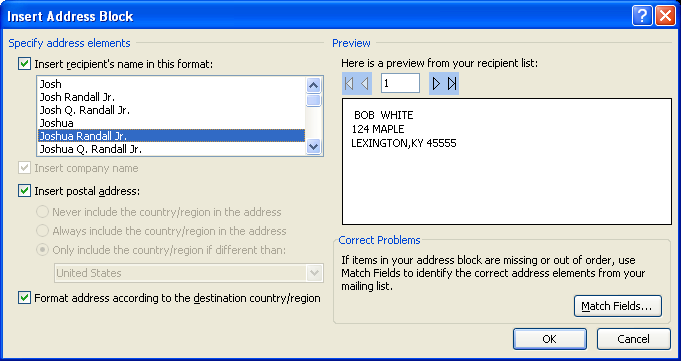
In order to add the names and addresses of the physicians to each letter, click on "Address Block" in the "Write and Insert Fields" section of the Mailings menu. A dialog box opens, as seen below:
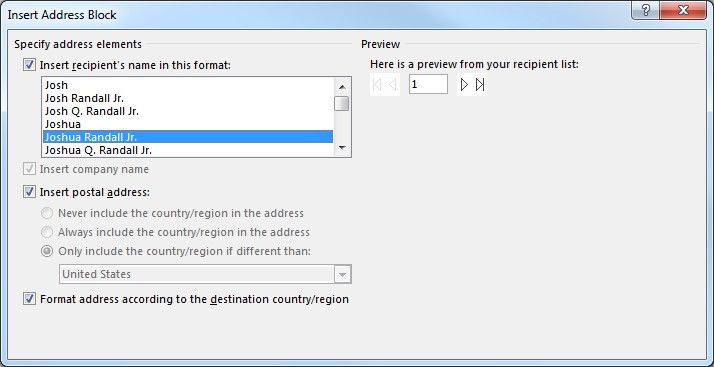
Click on "Match Fields" to fill in the address blocks with the data from the Excel spreadsheet.
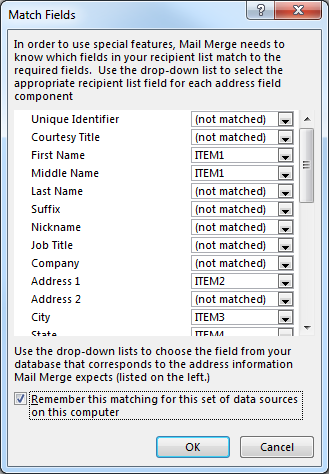
Now the "Match Field" dialog box is available. Use this box to format the address properly.
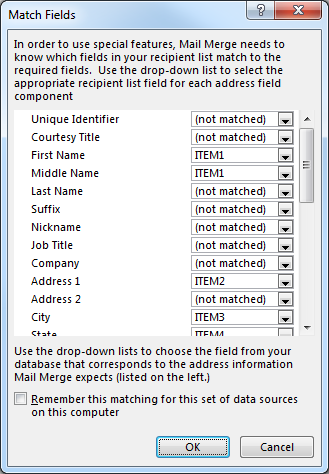
In the follow-up letter format, Item 1 contains both first name and last name, so leave First Name as 'not matched' and select Item 1 from the drop-down box next to Last Name. Item 2 contains the address, so select Item 2 from the drop-down box next to 'Address 1.' Item 4 contains city, state, and ZIP code, so select Item 4 from the drop- down box next to 'City.' Leave all other segments of the address block as 'not matched.'
Once you have assigned each item to its corresponding place in the address block, the "Match Fields" dialog box should appear as it does in the example below. Check the box labeled "Remember this matching…" in order to preserve this address block format for future follow-up letter mail merges. Click "Ok" to go on to the next step.
The address block is now previewed. If any part of the address block is incorrect or misaligned, click on "Match Fields" to repeat the previous steps. The arrow buttons above the preview address block can be used to scroll through the addresses in order. Click "Ok" to proceed.
As seen below, '<<AddressBlock>>' appears in the upper left of the page. This is where the name and address of the person to whom the follow-up letter is addressed will appear.
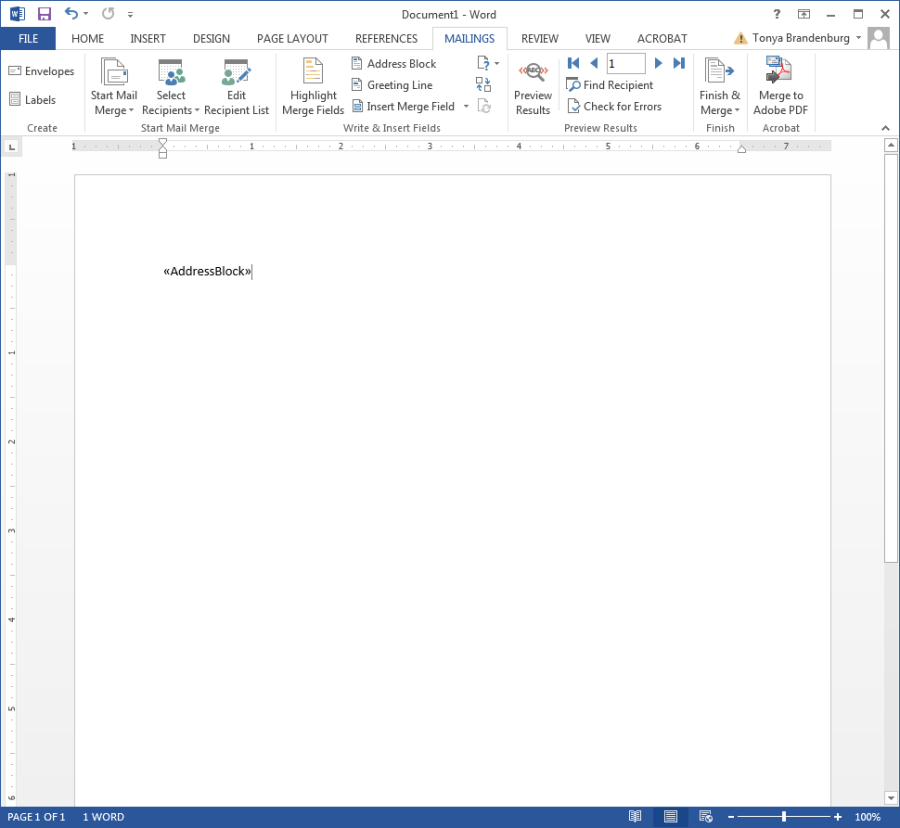
The cursor is immediately to the right of the address block. Hit 'Enter' to move to the next line and click on "Greeting Line" in the "Write and Insert Fields" section of the Mailings Menu.
The "Insert Greeting Line" dialog box is now displayed. Click on "Match Fields" and select Item 1 from the drop-down box to the right of First Name.
The name of the first letter recipient is previewed, as seen below. Subsequent greetings can be previewed using the forward and back arrows above the preview.
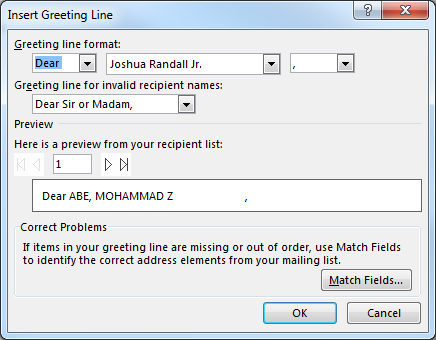
Click "Ok" to insert the greeting.
Now the Greeting Line is visible. Hit 'Enter' to move to the next line.

At this point, type the body of your follow-up letter.
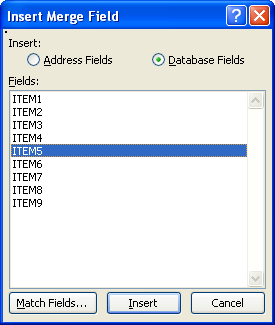
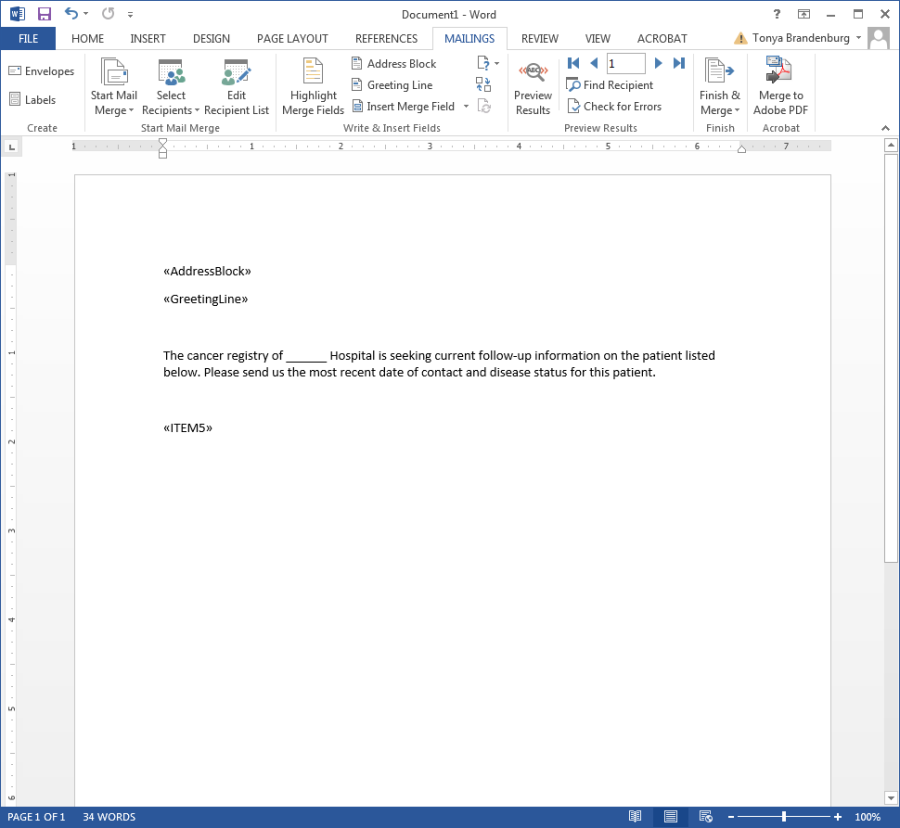
In order to insert the fields for the name and information of the patient for which you are seeking follow-up, place the cursor in the area of the letter where you wish this information to appear, and click on "Insert Merge Field" from the "Write and Insert Fields" menu. The dialog box seen below should appear. Click on Item 5 to list the patient's first and last name. Then click "Insert" and "Close."
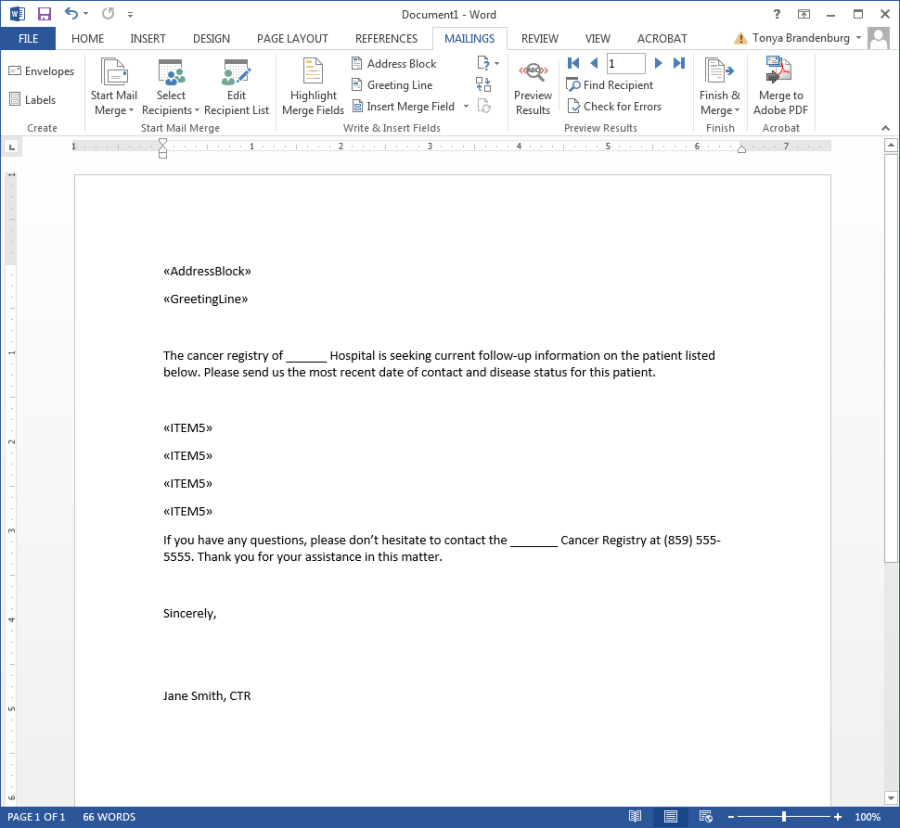
"Item 5" now appears where the patient's name will be listed. Repeat this process to add as many fields as you wish. Item 6 contains type of cancer and diagnosis date, Item 7 the registry accession number, Item 8 the date of birth and date of last contact, and Item 9 the physician's name.
After you have inserted all the patient fields, complete the body of the letter. The finished letter will look something like the example seen below.
Click the "Preview Results" button in the "Preview Results" section of the Mailings Menu. The fields will be shown filled in, as seen below.
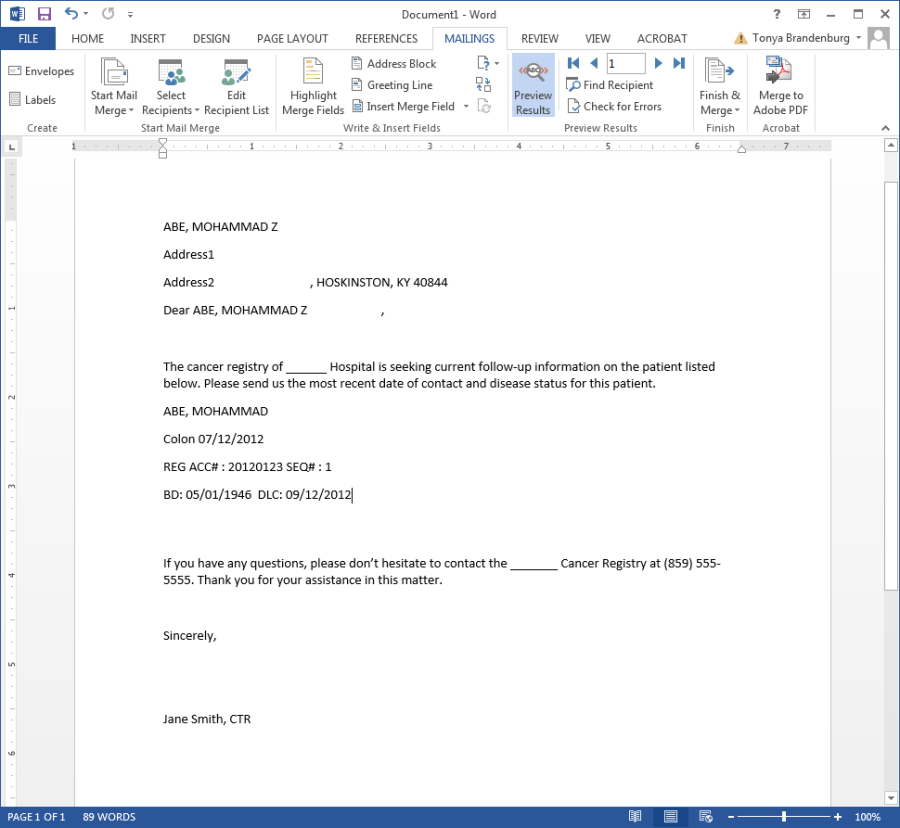
You may use the left and right arrows in the "Preview Results" submenu to view subsequent letters. If you wish to make any changes to the address block, greeting lines, or the merge fields, repeat the previous steps.
Click on "Finish and Merge" in order to print the follow-up letters. You may also use mail merge to create labels for the envelopes, or you may position the address block such that it will be displayed in the window of an envelope.